Showing posts with label Storage. Show all posts

Sunday, 23 September 2012

Getting Orgaised - Belts

I cannot believe my last post was nearly a month ago! Everything's been so hectic this past month, I had no idea how much time had passed! The reason I've been gone so long is that I have a new job! It's been a big shock to the system going from having pretty much nothing to do all day, to working 45+ hours a week! I'm still trying to get all this time management stuff figured out, but in the mean time there will be the odd post popping up now and again.
-I definitely have a new found respect for bloggers with full time jobs, especially those who post daily - seriously, HOW DO YOU GUYS DO IT?!

Getting Organised
I decided to have a series of posts on my blog dedicated to getting organised. I am a bit of a hoarder, and hold onto a lot of useless rubbish, have too many clothes that I never wear, and have make up I never use. Every now and again I pretty much turf everything out of my room, get rid of things I don't need, and re-organise everything I'm keeping. Seeing as I'm now going through one of those phases, I figured I'd show you how I'm organising things, and maybe it will help give you some ideas on storage and how to save space.

Belts

One of my biggest obsessions are belts. Particularly waist belts (which I'm so happy to see are back in a big way for A/W), and although I probably have way more than I need, I still want more! Previously I had my belts hanging on my door on the same kind of hanger I use to organise my scarf's (see post here), but I found it warped some of the belts, and was sometimes a bit of an effort to put belts back onto, so they ended up strewn across my room. So here's how I've re-organised them:


On the left are waist belts that would get ruined if I rolled them up, so I've stored them length-ways to keep their shape. In the centre I've used 2 small Ferrero Rocher boxes to store my slim non-waist belts, which I rolled up and stored side-by-side. Finally on the right are my elasticated waist belts that can be rolled up easily, and stored more compactly.


It's so much easier to see what I have, and so much easier for my to put the belts away at the end of the day.
Seeing as I'm a bit of a belt freak, I'll be storing the box under my bed for easy access!

I'd love to know how you store your belts?


SHARE:

Wednesday, 8 August 2012

Lipstick Storage & Overview


When it comes to storage, I am a bit of a freak. I personally love seeing how others store their products, and I change my set up pretty much every month. For now I'm quite happy with my storage (which I'm sure won't last), so I thought I'd show you how I'm storing my lipsticks at the moment!

I store them in this set of drawers next to my windowsill, and my lipsticks take up the bottom two drawers:

1st Drawer

Within the drawers I've made these dividers so I can stand the lipsticks up so I can see their colours/names without having to rummage.
In the left and middle boxes are my NYX lipsticks, and one random Estee Lauder lipstick.
In the right box are all of my MAC lipsticks, and at the front are my 3 YSL lipsticks.

I organise the colours from lightest to darkest, and within their own brands.

2nd Drawer

In the bottom drawer I keep my MUA lipsticks in a box (sadly, yes I do own them all -minus the lipbooms- but they're £1 each, so I pretty much used that price to justify buying them all! I have a problem haha), and I have miscellaneous high street lipsticks kind of scattered around it. To the side of the MUA lipsticks is a 'Famous' lip pallette. I don't really like this drawer as its not as organised as the other, but I ran out of boxes!

The Boxes 
These boxes are basically what my iphone came in, and I've used the boxes my sister's and my iphone came in. I was originally storing my MAC lipsticks like the top left photo, but it was getting annoying having to hunt for the colour I wanted, so I made these dividers using Enkore's youtube tutorial, and not I can see what colours I have easily.

I know I have way too many lipsticks, but a few years ago I wouldn't wear any lipsticks, they were completely out of my comfort zone, but I forced myself out of it and ended up a bit lipstick crazy! I think I'm pretty much set for lipsticks now, so probably wont be buying any more for a while. For those wondering, all of these lipsticks were bought by myself, or given as gifts from friends/family. I wish that wasn't true though as it would make me feel a lot less guilty!

I'm thinking of doing swatches of individual lipsticks within each brand (each brand would get its own post). 
Let me know if you'd be interested in seeing this?
Also, feel free to link your storage posts at the end of your comment so I can have a nose!


SHARE:

Wednesday, 2 May 2012

May Fashion Challenge: Day 2

---Day 2---

-31 Day Fashion Challenge-
"You Have The Most..."
...Scarves

I was tempted to make this one beauty related as really the thing I have the most of is lipsticks, but I thought I'd keep it fashion related to stick with the theme, so my scarf collection would probably be my biggest thing in my wardrobe.

This might not be a lot to some people, but I definitely own way more than I need. A lot of these are for when I get cold in the winter, but I do want to start wearing more scarves as the weather (hopefully) gets warmer. Then at least it would kind of justify the amount I have! 

-Instagram 'Style Me May' Challenge-

Day 2: "Bright Happy Colour"
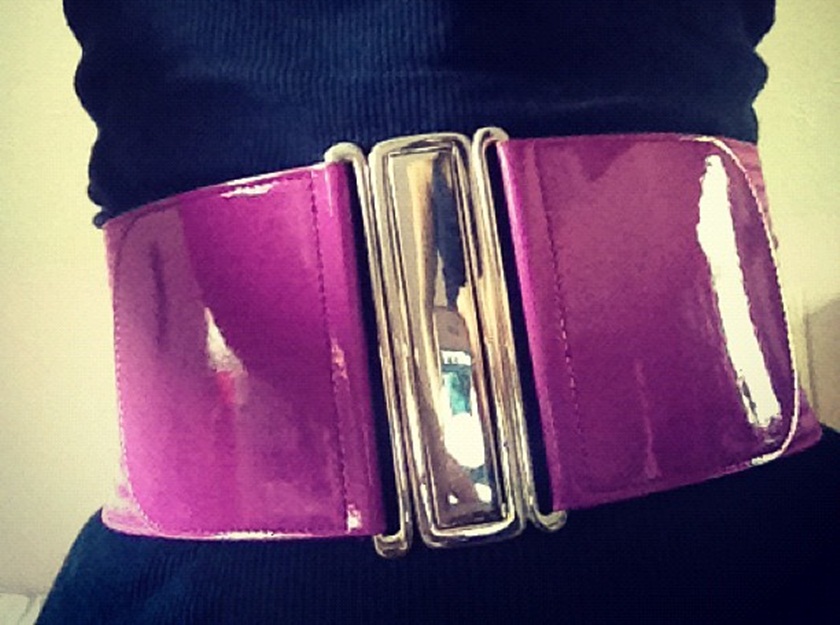
Waist Belt - H&M | Frill Tank Top - Primark


SHARE:

May Fashion Challenge: Day 1

------Day 1------

-31 Day Fashion Challenge-
 "Your Wardrobe"
I always love to see how others organise their clothes, make up etc. so am definitely loving this challenge! It has taken a long time to get my room the way I want it, particularly my wardrobe. My room is a really odd shape so it was quite difficult, but I finally got it perfect last year. Of course I wish it were bigger, but sadly I my sister wont let me kick her out of her room, so my dreams of a walk in wardrobe will have to wait.. *sigh*

Welcome to Narnia..
My room used to be 2 tiny rooms, but we knocked the dividing wall down to make it a decent size (hence the random strip of carpet in the middle). We put shelves and rails into the doorway I don't use to turn that into built in wardrobe. We also put a mirrored double sliding door in too which covers the doorway and the wall next to it, so it looks bigger than it is when closed. Its obviously useful having a big full length mirror there, plus it makes my long and narrow room look a little wider.

Clothes

There is a high rail at the front for dresses and long skirts, then at the back there is a rail above a shelf which just fits tops, cardigans, short skirts and folded trousers. I have tried to organise it by colours too to make outfit building easier (white-cream-beige-yellow-orange-red-purple-blue-green-black).

Shoes
On the floor I keep my shoes on a rack, boots on the floor, and I use bins to store my flip flops and umbrellas.

-Instagram 'Style Me May' Challenge-

Day 1: "Makes Me Want To Twirl"
Dress - Primark

SHARE:

Wednesday, 18 January 2012

London Haul pt.2

Continuing with part two of my London Haul (you can read part one here), these are a couple of things I picked up in Muji:

Muji Pill Box

I saw this in the Muji concession in Selfridges and thought it would be perfect for using as a lipstick palette, or to mix pount paints/lip tars in (lipstick is there so you can get an idea of its size). And it was only £1.25 from their travel section. Though the dividers are removeable, so not water-tight. If you were to use this to melt lipsticks into, you may want to permanently glue the dividers down first.

Muji Wide 2-Drawer Storage
Last but by no means lest, I finally got myself one of the Muji drawers! I have been lusting after one of these for a while now, but I don't live anywhere near a Muji store. I took advantage of being in central London for the day and picked this up in Selfridges.

Obviously the photo above is off the website (I forgot to take photos before I filled it), but below are photos of how I'm not using it from bottom to top:

Bottom Drawer

I filled the bottom drawer with all of my Barry M Dazzle dusts, a few benefit pigments and some miscellaneous ones. This is the heaviest drawer, so I'm keeping this at the bottom in case the weight is too much for it, at least the drawer will have the support of my desktop underneath!

This drawer is the result of far too many 3for2 offers on Barry M dusts in Superdrug. I haven't seen any of those offers for a while now, so for now it hasn't grown any further. But I'm sure that wont last for long..

Top Drawer

In the top draw I've put my MAC pigments, undepotted MAC eyeshadows, and any other eyeshadows/pigments that aren't in palettes.
As you can see this set of drawers is just for my eyeshadows, and its got a bit of room left in the top drawer in case my Dazzle Dust collection grows again!

On Top

On top of my drawers I've temporarily laid out a few of my blushes. 
I am definitely going to buy another one of these drawers next time I go to London, and it will be solely to store my blushes and bronzers. I don't want to pile them on top of each other as I want to be able to see everything I have at a glance.

What are your thought on the Muji drawers? I think I've already become addicted to them as I'm definitely eager to get more! -Which is a little worrying in regards to my bank balance...
SHARE:

Tuesday, 10 January 2012

Beauty Bargain

I have a bit of an obsession when it comes to storage, and am forever changing how I store my make up. I've been wanting to purchase Brush Guards for a while now, to help my brushes keep their shape and last longer. 

I didn't really like the idea of having to purchase packs of different sized brushes, knowing I'll have too many of one size and not enough of the other, and didn't really want to waste my money. 

But whilst trawling around ebay I found this cheap 1m roll of it for only 99p! I didn't hesitate to buy it, as if it didn't fit I'd have wasted next to no money. 


They fit 90% of my brushes perfectly! The only ones it didn't were the small eye shadow/eye liner/lip liner brushes. Its perfect as some brushes are longer than others, so you can cut it down to an size. For the amount of brushes I have I had to order another one, and I have some left over in case I accumulate any more! 


The only downside of this roll is that it comes from Hong Kong, so it takes 11-23 days to arrive. But if you don't mind the wait then I 100% recommend this.


SHARE:

Sunday, 11 September 2011

DIY Storage Solution: Earphones

Recently I've been really into craft, and thought I'd show you a very quick and easy DIY for storing earphones.

You will need:
-Card (I used an empty cereal box)
-Wrapping Paper/ Wall paper with a design you like
-Glue
-Scissors

Method:
1-Roughly draw a shape like the one pictured below, and cut it out.
You may need to do this twice if your card is thin, and glue both pieces together.

2-Cover the cut-out card in your chosen paper, and you will end up with something like this:


3-Now all that's left to do is to wrap your earphones around the middle of the shape, and you're done!
No more tangled wires!


You can also do this for chargers, cables etc, though you may need to make it bigger depending on the size of the wires.

I hope you find this helpful!

SHARE:

Thursday, 1 September 2011

Lush "The Comforter" Review & Quick Storage Tip

My Lush bath collection isn't really something to envy by any means. But I thought I'd show you how I store them in order to get the most out of them, and to keep them fresh and organized.


-I cut my Comforter bubble bar into quarters, and both of my Ballistics in half (the Sex Bomb Ballistic was an absolute pain to cut in half, next time I think I'll leave this one whole). 
-I then put them into sandwich bags (including any excess that may have crumbled off), and use clips to close them so I can re-use the bags again  (obviously Lush try to minimise plastic packaging wherever they can - It seems a bit of a waste to store them in plastic only to then throw that plastic away).
-I stick their labels onto the bag so I know their use-by-date, and, just so I can see at a glance what they are, I label the clips too.

The good thing about storing them this way is that nothing is wasted: You get more use out of each product, and any 'crumbs' get caught in the bag, so they can be added to the bath too and don't end up getting lost.

THE COMFORTER


I used just one quarter of my Comforter bar, and crumbled it under hot running water.


Below you'll see in the photo on the left a small amount of bubbles at the beginning, and pink water.
The photo on the right shows the amount of bubbles the bar had created once the bath had finished running. I'm pretty impressed that such a small amount of bubble bar created so many.


What Lush Says:
"This fruity bubble bar gives the feeling of being hugged by a jolly blackcurrant. When life is getting you down, crumble The Comforter under hot, running water for purple water and creamy bubbles. The warm aroma of cassis absolute is relaxing so relaxing that you'll go to bed feeling happier and the world will seem brighter the next day."

My Thoughts:
I'll admit when I first smelled this bubble bar in the shop I didn't like it at all. I thought it was too strong, and found the scent completely overwhelming.

But my boyfriend surprised me with this one day as a gift, so I thought I'd give it another chance. This time round I thought the smell was actually quite lovely. I guess all of the other Lush smells didn't really mix well with it in the shop.

Whilst the bath was running, the smell was quite strong. But once it had run I couldn't really smell it if I'm honest. Though I'm sure that's because I only used a little of the bar.

There was a very faint scent of the bar on my skin afterwards though, which was nice.
I will buy this bar again, though next time I'll probably use half of the bar instead of just a quarter of it.

Have you used this before? Would love to know your thoughts.

SHARE:

Sunday, 19 June 2011

Storage from Ikea

KOMPLEMENT 'multi-use' hanger £3.99
I was in Ikea Friday night with my OH and I came across a great bargain and massive space saver.

Problem:
I've somehow accumulated a lot of scarves, and usually store them on hangers, with one hanger each holding 4 scarves. 
My wardrobe is pretty small, so this method takes up way too much space as the scarves are quite bulky. 

Solution:
When I saw this I knew it would be perfect! And at just £3.99 I had to get it.
Here's how my scarves look now:


The way I've tied my scarves on to the hanger means this has the capacity to hold 28 in total, or even 32 if you use the space at the top too! Which is good because it means I have a lot of room to grow.
With all the scarves on the hanger it's so heavy! Yet the hanger itself is extremely strong and sturdy, and shows absolutely no signs of giving, which is obviously what you want. 
This hanger is great quality, which is a bonus with it being such a low price. 


This hanger could be used to store not only Scarves, but also Belts and Ties. (I'm very tempted to get another one to house my belt obsession!) And I'm sure there's many more things this could be used to store.

I absolutely LOVE Ikea, I don't think I could ever tire of wandering around looking at all their lovely products and great bargains. Its amazing if you're as obsessed with storage as I am (I'm always looking for new makeup storage so I have room to buy more! hehe).

Would love to hear any of your storage bargains/recommendations :)


SHARE:

Tuesday, 3 May 2011

How I Store My LUSH Soaps

Now I know this isn't anything new in the slightest, but I just wanted to show you how I'm storing my LUSH soaps. 

I've seen a few tutorials on how people store their soaps, and I know a lot of you use this method:
I cut up my LUSH soaps to use a bit at a time so I dont get the whole bar wet, and I'm not stuck having to only use that soap, so I can mix and match each day. I also keep one small chunk at the sink to wash my hands with.

Firstly I make sure I sanitize my chopping board and knife with 91% Alcohol (I have a knife dedicated just to LUSH soaps so that my food doesn't end up tasting of soap!) And then I just cut one small segment off the block of soap.


I came across this container at Homebase (below)
I love this because it has 2 sections, which can be removed to make one big one. 

I removed the labels from the wrapping the soaps came in, and stuck them under the compartments so I can see which soap is which without it getting ruined by the soap.


Once I've cut a segment off each soap, I wrap the remaining block in cling-film and place it in its section above its label (below)

A lot of people I've seen cut the whole block up into small segments and wrap each one up individually in cling film. Theres a reason I haven't done this:
To me wrapping LUSH products up in plastic kind of defeats the point of them being naked, and goes against LUSH's philosophy of minimising packaging as most plastic is not bio-degradable

Although I HAVE used cling film, I've used it on one big block, which means when I need another small segment I just cut it off and wrap the block back up in the SAME wrapping, and then when the block is done the left over cling film is big enough to be used AGAIN.

So there is some kind of method in the madness!


Below: I've tried to recycle as much of the 'ingredients' label as I can by putting the 'fresh handmade cosmetics' part from both labels on each side. Then I cut the soap name from the label and stuck it onto the corresponding end:


With the small segments I cut off, I placed them into a small container (BELOW RIGHT) to keep in the bathroom. 

Its also very handy to travel with as they last a long time, and I don't particularly want to be carrying around a big block of soap! Especially as I'm prone to losing things, so if I get home and realise I left it in the hotel/friends house then it doesn't matter too much as I have more spare!


This idea works really well for me, but tips and new ideas are always welcome as I'm still a LUSH newbie, so I'm sure I'm doing it wrong! Haha

Would love to hear what you do with yours! 

SHARE:

Sunday, 1 May 2011

Storing my new LUSH

I thought I'd do a post about storage and organisation as I personally love looking at other peoples collections to get good tips and ideas, so I figured I'd post my new storage solution and hopefully it will inspire you :)
Either that or it will make you feel better about your own collection!

I've been holding onto this old GHD box for ages, and haven't been able to bring myself to throw it away!
Until Now I was just using it to house a few empty Travel-sized bottles, but most of the space was just wasted.

But now I have a mini-stash of LUSH I figured I'd use it to store it all :)
I didn't want the GHD logo on the lid though, and decided to make it more LUSH dedicated, so heres what I did:

Empty GHD Box
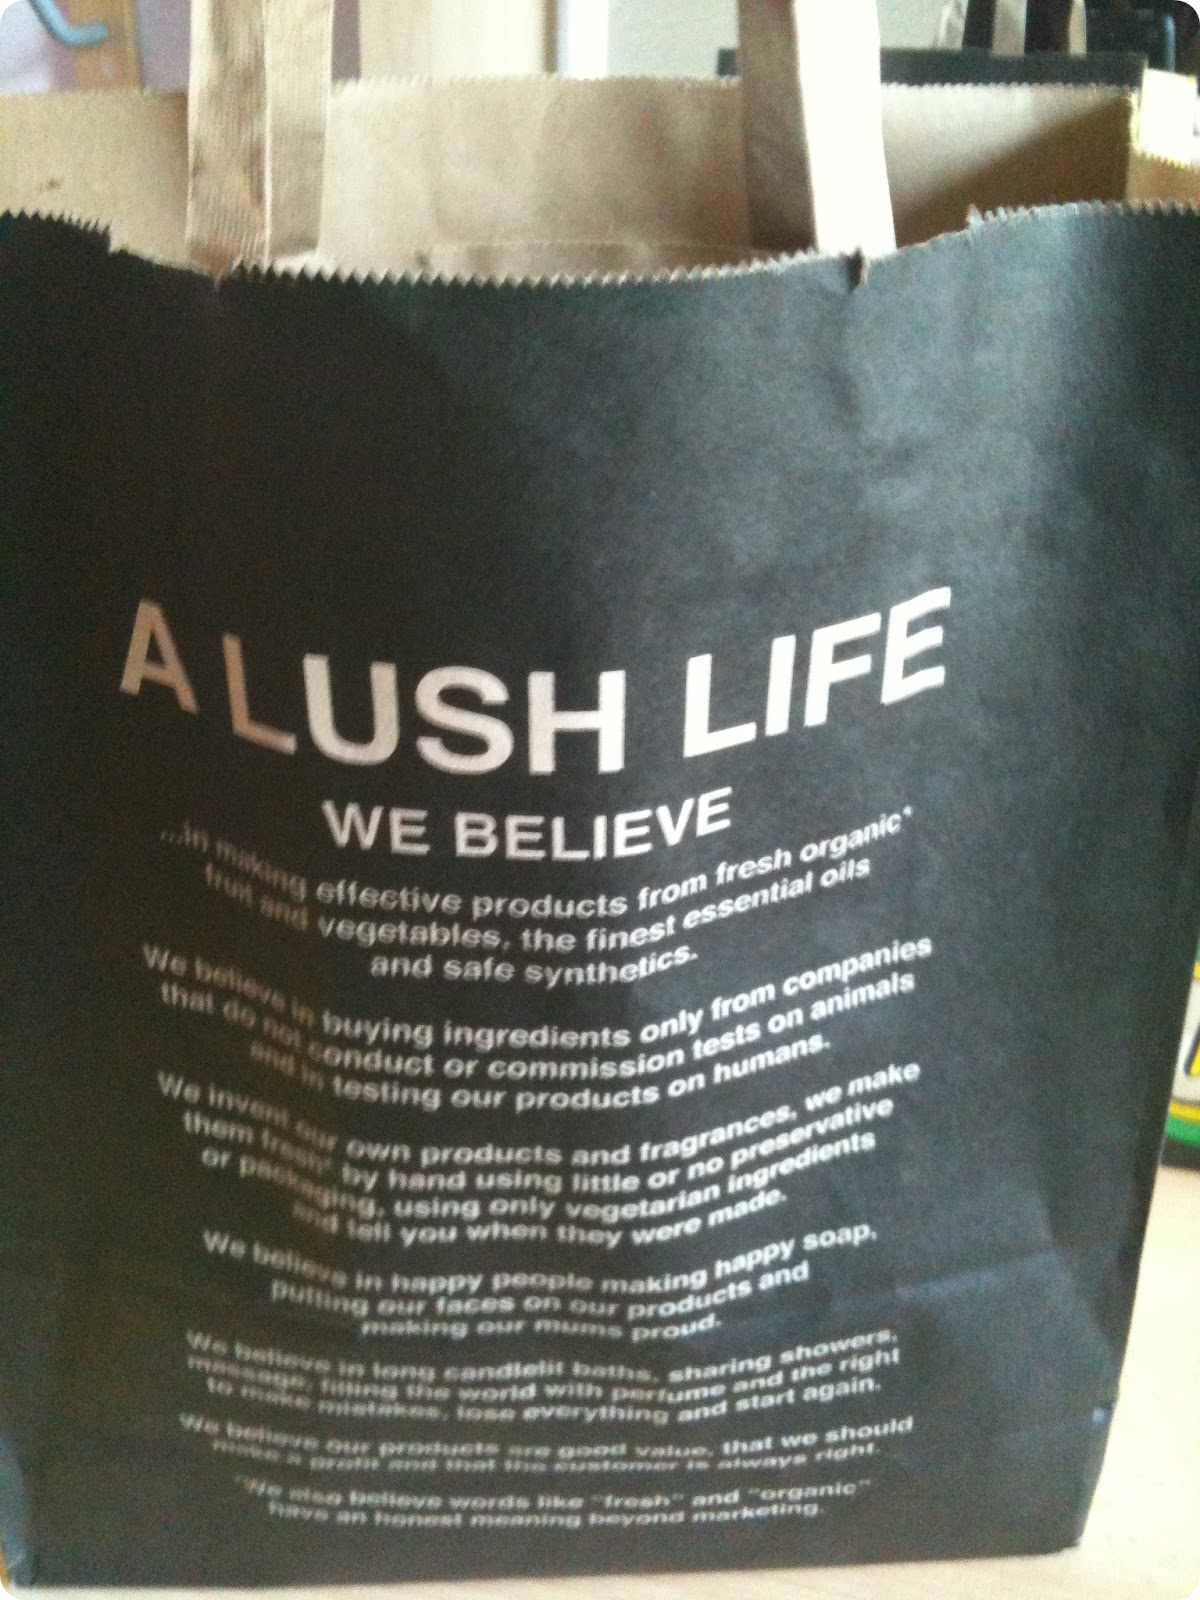
Lush Paper Bag
I cut up the above empty bag (I have 2 and this one was a bit too battered to use again for shopping, so thought this would be a nice way to recycle it) and used double-sided tape to fix it to the lid to cover the logo so now it looks like this:

Box Lid Now
Inside Box: Before
Above: Inside the GHD boxes there's a plastic holder fixed to the lid to hold an instructional manual and DVD. Obviously this space would be wasted left like this (plus it looks quite ugly) so I removed it (below)

Removing Plastic CD Holder
Below: I then put non-slip liner at the bottom of the box to stop my LUSH products from sliding around once they're in there.

Adding Non-slip Liner to the Bottom
Back of Lush Bag
Removing the plastic from the lid revealed plain cardboard, which again looked ugly, and I obviously wanted to cover it. I wanted to keep with the black theme, so I cut up the back of the LUSH bag (above) and fixed it to the inside of the lid (below)
I quite like the idea of having the LUSH Philosophy behind my products, as its this that has made me go as crazy about their products as I have. 

Inside of Box Lid
So BELOW is what the box looks like fully loaded with my mini-stash!

Things will eventually be moved around. Everythings spread out at the moment to make it look like theres more than there actually is! But theres plenty of room for more, which I love as sadly I'll be going over to the Portsmouth store for MORE with my birthday money. 

I really wasn't lying when I said I've gone crazy about LUSH :/

Where My Lush Products Now Live
Close-up (Sorry its blurry)
Whats really nice about this box is, the way the lid is, when its laid out like this theres a little ledge which sits all of my sample pots perfectly! (Below)

With hind-sight I'd have put a big magnet strip on the lid before fixing the LUSH philosophy to it, and then fixed little magnets to the bottom of the sample pots so I could have more all over the lid when the ledge eventually gets filled up :S
But never mind!
Sample Pots Sit Nicely Along the Ledge of the Lid
Another Close-up!
I absolutely love this and it's taken pride of place in front of my mirror where my old cleanser/toner/moisturiser etc products used to sit. LUSH's skincare products work so much better for me than any other products I've tried, so of course it had to take centre stage!

Hope this gives you a few ideas on storage, or what to do with random boxes you've got lying around!


SHARE:
@ Beauty Not Just Skin Deep.